Using Manual Translations
If you aren’t satisfied with the suggested translation or if no appropriate translation is provided, you can manually enter a translation to override it.
1. From the Language mode of the Customize slideout, select the language into which you want existing text localized, then click Translate to display the Translate window.
2. Find the word or phrase you want to manually translate (replacing the suggested translation).
3. Hover over that line in the list of translated items to display the edit icon ( ).
).
4. Click  to make the Manual translation field available.
5. Enter the translation you want to use for the designated word or phrase.
6. Click  next to the manual translation to save it.
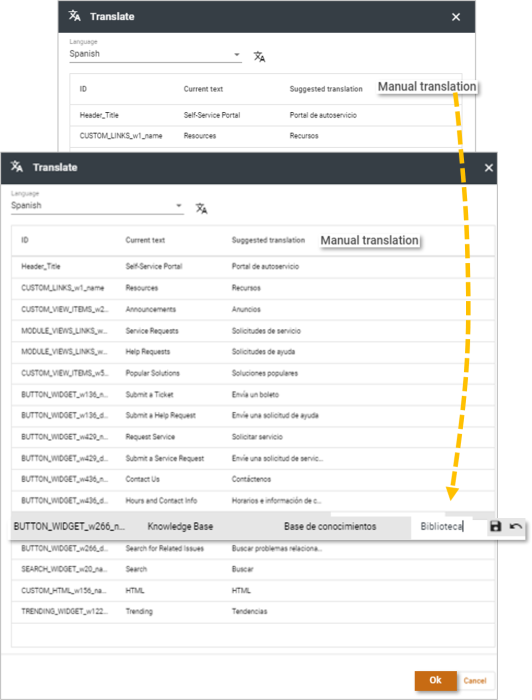
7. When you have completed the manual translations, click OK to close the Translate window and return to the Customize window.
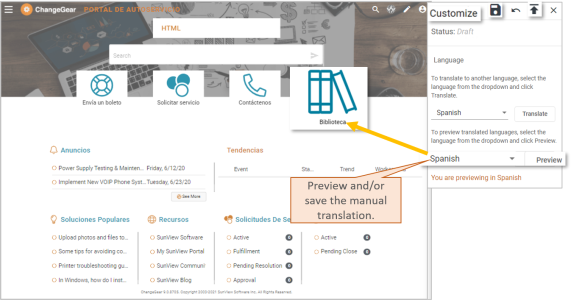
8. From the Customize window, you can now preview and/or click  save to complete the settings, and /or click
  to publish the translated page.
Note:Once a page is published, you no longer see the option to save. Instead, you have the option to leave the page with or without publishing the new content.
When you make changes to the SSP once it is translated, new information is automatically translated. Therefore, it is recommended that you double-check all translations after editing.
You can also use Translate the Rest of the Page.