Overview of Webhooks
Webhooks tell ChangeGear to notify external (web-based) resources (third-party systems or scripts) when specific events occur in specific modules. For example, if a bug in an internal software system is reported via a ChangeGear Incident ticket, ChangeGear could notify a third-party bug tracking system used by the internal software development team. Or, completed change requests could notify an external project management system.
ChangeGear has the ability to send a Webhook (an HTTP POST request) to any URL on create, update, or delete of any ticket, task, or announcement.
Webhooks send the entire ticket data structure as the webhook payload. This is the same data received when making a call to get ticket details from the ChangeGear API. For example, a webhook that fires every time a Service Request ticket is created will send the entire data record for the newly created Service Request ticket. You must configure the receiving resource to receive and handle the ticket data as required.
To add a webhook:
- Click Web Administration > Webhooks. ChangeGear displays the Webhooks screen.
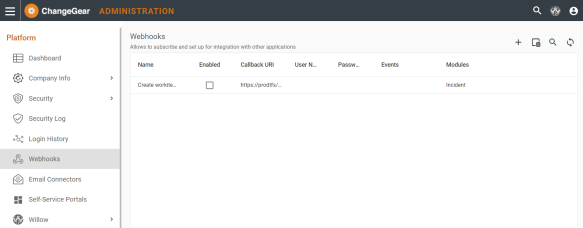
- Click on the plus sign to add a new webhook. ChangeGear opens a new row in the grid.
- Enter a Name for the webhook. Tip: Try to use a webhook name that describes the trigger and the target, so that it is easier to understand why the webhook was created. The Callback URI often is not helpful for indicating the purpose of a webhook.
- In Callback URI, enter the destination URL address (the API web address of the resource that should be notified).
- In User Name, enter the user name for the resource that will be notified.
- In Password, enter the password for the for the resource that will be notified. The password is encrypted inside ChangeGear when you save the webhook. For security reasons, ChangeGear displays the password in the encrypted format, whenever the webhook is displayed or edited.
- In Events and Modules, select the events that trigger the webhook and the monitoring modules--for example. when a new Incident ticket is created, or when a Configured Item is updated in the CMDB. You can select multiple combinations.
- Check the Enabled box to turn on the webhook.
- Click the save icon
 to save the webhook you just defined.
 - You're finished creating the webhook. Be sure to test that it works as expected. See Test a Webhook.