Generating and Downloading a .ics File
Once you save Planned Start and Complete dates in a Change Ticket, you’ll have the option to generate and download an .ics file that adds the event to your calendar (e.g., Microsoft Outlook, Google Calendar, and Apple Calendar). Once it is added to your calendar of choice, you can use it as you would any other scheduled calendar event (e.g., set reminders, share, etc.). When Planned Start and Complete dates are saved, you can hover over the Add To Calendar button to see that it’s activated.
Note: This feature requires an Advanced Change license.
In the Plan area of the ticket, click Add to Calendar to generate the .ics prompt at the bottom of the screen.
At the bottom of the ticket window, double-click the .ics prompt to add the appointment to the default calendar.

Notes:
The images shown here are examples using the Chrome browser. The actual prompts and steps to add the appointment to a calendar may differ between browsers and browser versions.
In addition, some systems display a prompt that allows you to select a preferred calendar.
However, if no default calendar application has been set, the following message appears. An appropriate default calendar application must be set to use this capability.

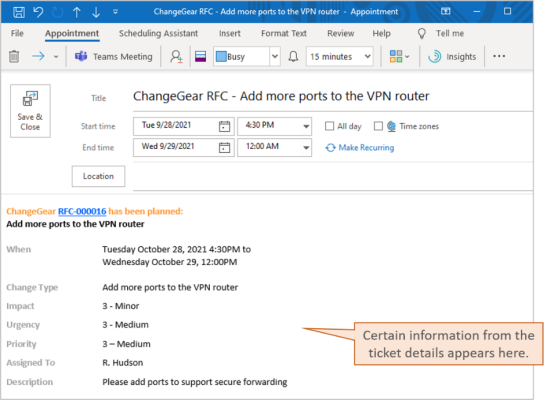
Note:When the scheduled change has been added to the calendar, any information (e.g., details about the ticket or a link to go directly to the associated ticket) that appears in the Description field under the Description tab of the ticket, as well as Time and Date, Change Type, Impact, Urgency, Priority, and Assigned to appears in the body of the appointment window.
You can now add or change settings within the calendar’s appointment (e.g., reminders, attendees, notes, attachments, etc.)